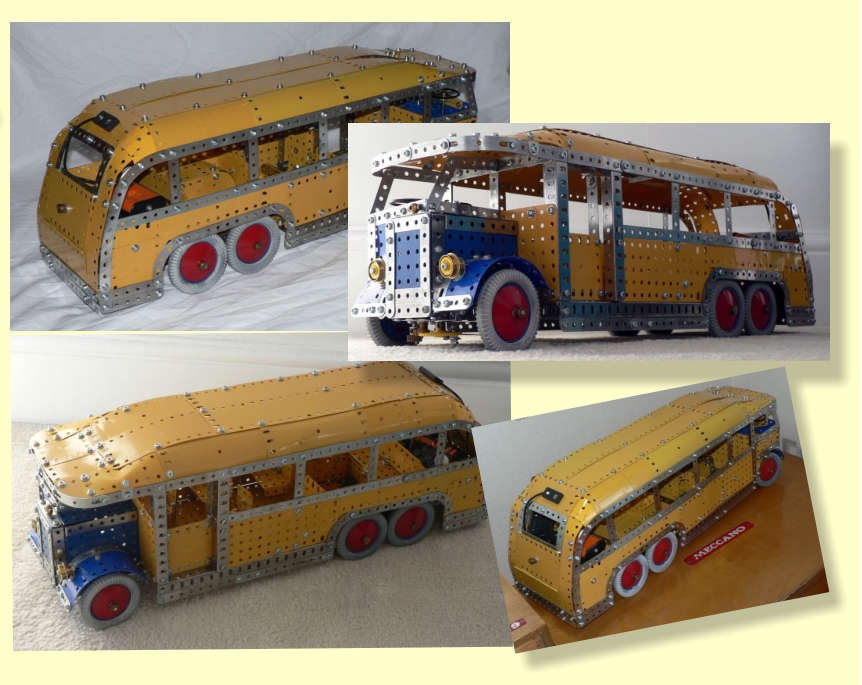
Even reading those instructions warned me that some aspects of the model were unworkable or unsatisfactory, so from the outset I decided, to keep to the spirit and appearance of the original model, but to make a few ‘improvements’ and, if necessary, use parts beyond the 1951 Set 9 contents. Four aspects of the model in particular needed attention. The excessive (perhaps impossible?) bending of the plates used on the curved front and rear of the roof; the configuration of the luggage locker door which is quite unworkable as illustrated; the large gap between the sliding door and its frame when in the closed position; and the strange visible forward position of the steering track rod.
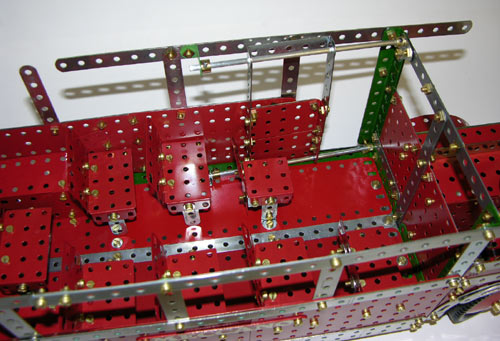
The way the luggage locker is shown in the Manual is impossible without the mutilation of the flexible plates at the side. (The narrow flex plates are supposed to be threaded through the hinge of the hinged plate which forms its door!) Substituting a Meccano Power Drive Unit for the clockwork motor (specified in the Manual), eliminated the need for a slot at the back of the Coach for the control levers of the c/w motor. And this allowed me to reposition the hinged plate and resulted in a neater rear end and a much larger rear window. I redesigned the steering mechanism, moving the track rods to the rear and adding an extra pinion to facilitate correct-way steering. Other minor improvements included: overlapping the plates on the centre section of the roof; ‘better’ seating; redesigned floor panels to allow the rear wheels to be set closer inside the wheel arches; and a tension spring take-up drive for the rear axle to compensate for the very heavy weight of my version of the model. The PDU drives it along with some gusto when powered by 12v batteries. My Coach was built with a red and ‘silver’ colour scheme because I was in the middle of stripping all my perforated strips for later re spraying! I even ‘cladded’ some mid-green angle girders with perforated strips to try to maintain the scheme. Stan Knight You can see more of Stan's models by clicking this link Quite a lot of other builders have shown interest in this model one of whom is Stan's adult son Dave who has recently got back into Meccano building. His version of the coach is shown below. Like Stan he has used the Meccano Power Drive motor but connected to an infra red control unit. Dave tells me the coach performs well just on 6 volts of power from the inboard batteries.
July 18 2013 Revised May 23 2014 |
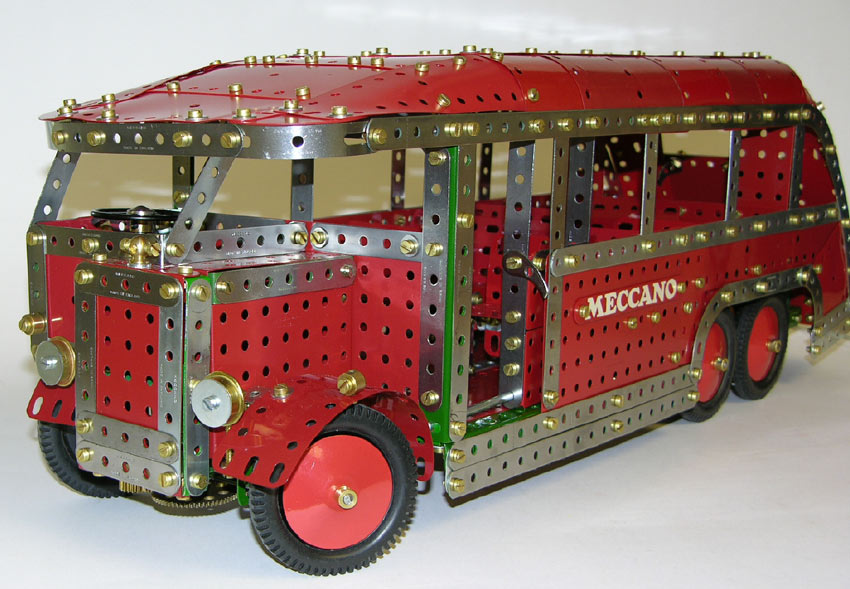
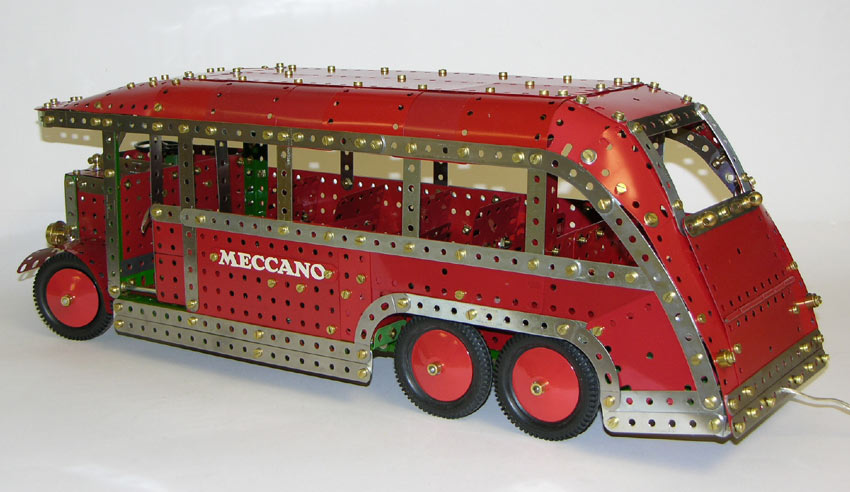
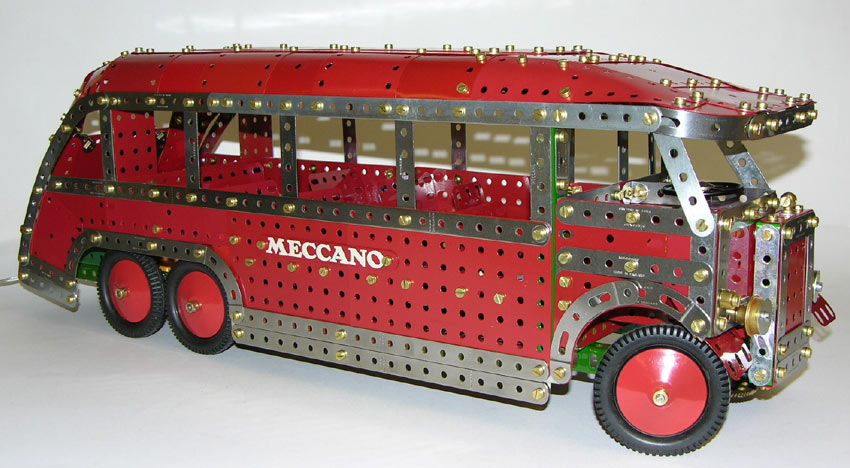
 My inspiration to try to build the Motor Coach was the Italian Meccanoman’s version of it that also inspired Alan to build it. The inspirational original seemed to keep pretty closely to the Instructions from the 1951 Outfit 9 - 8.(a reprint of the 1949 manual)
  The curved sections of roof was made much easier by the use of plastic flexible plates, which of course were not available in 1951. While frustrated by the fragility of these plates (I wrecked quite a few of them in trying to build the curved roof sections) they did enable me to make a decent representation of those sections.
 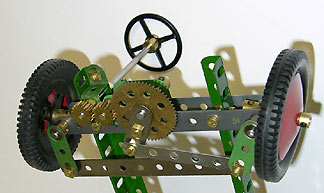 By using small flanged plates for the passenger door panels, and angling its sliding rod, I was able to get it to close to its frame a little more snugly.